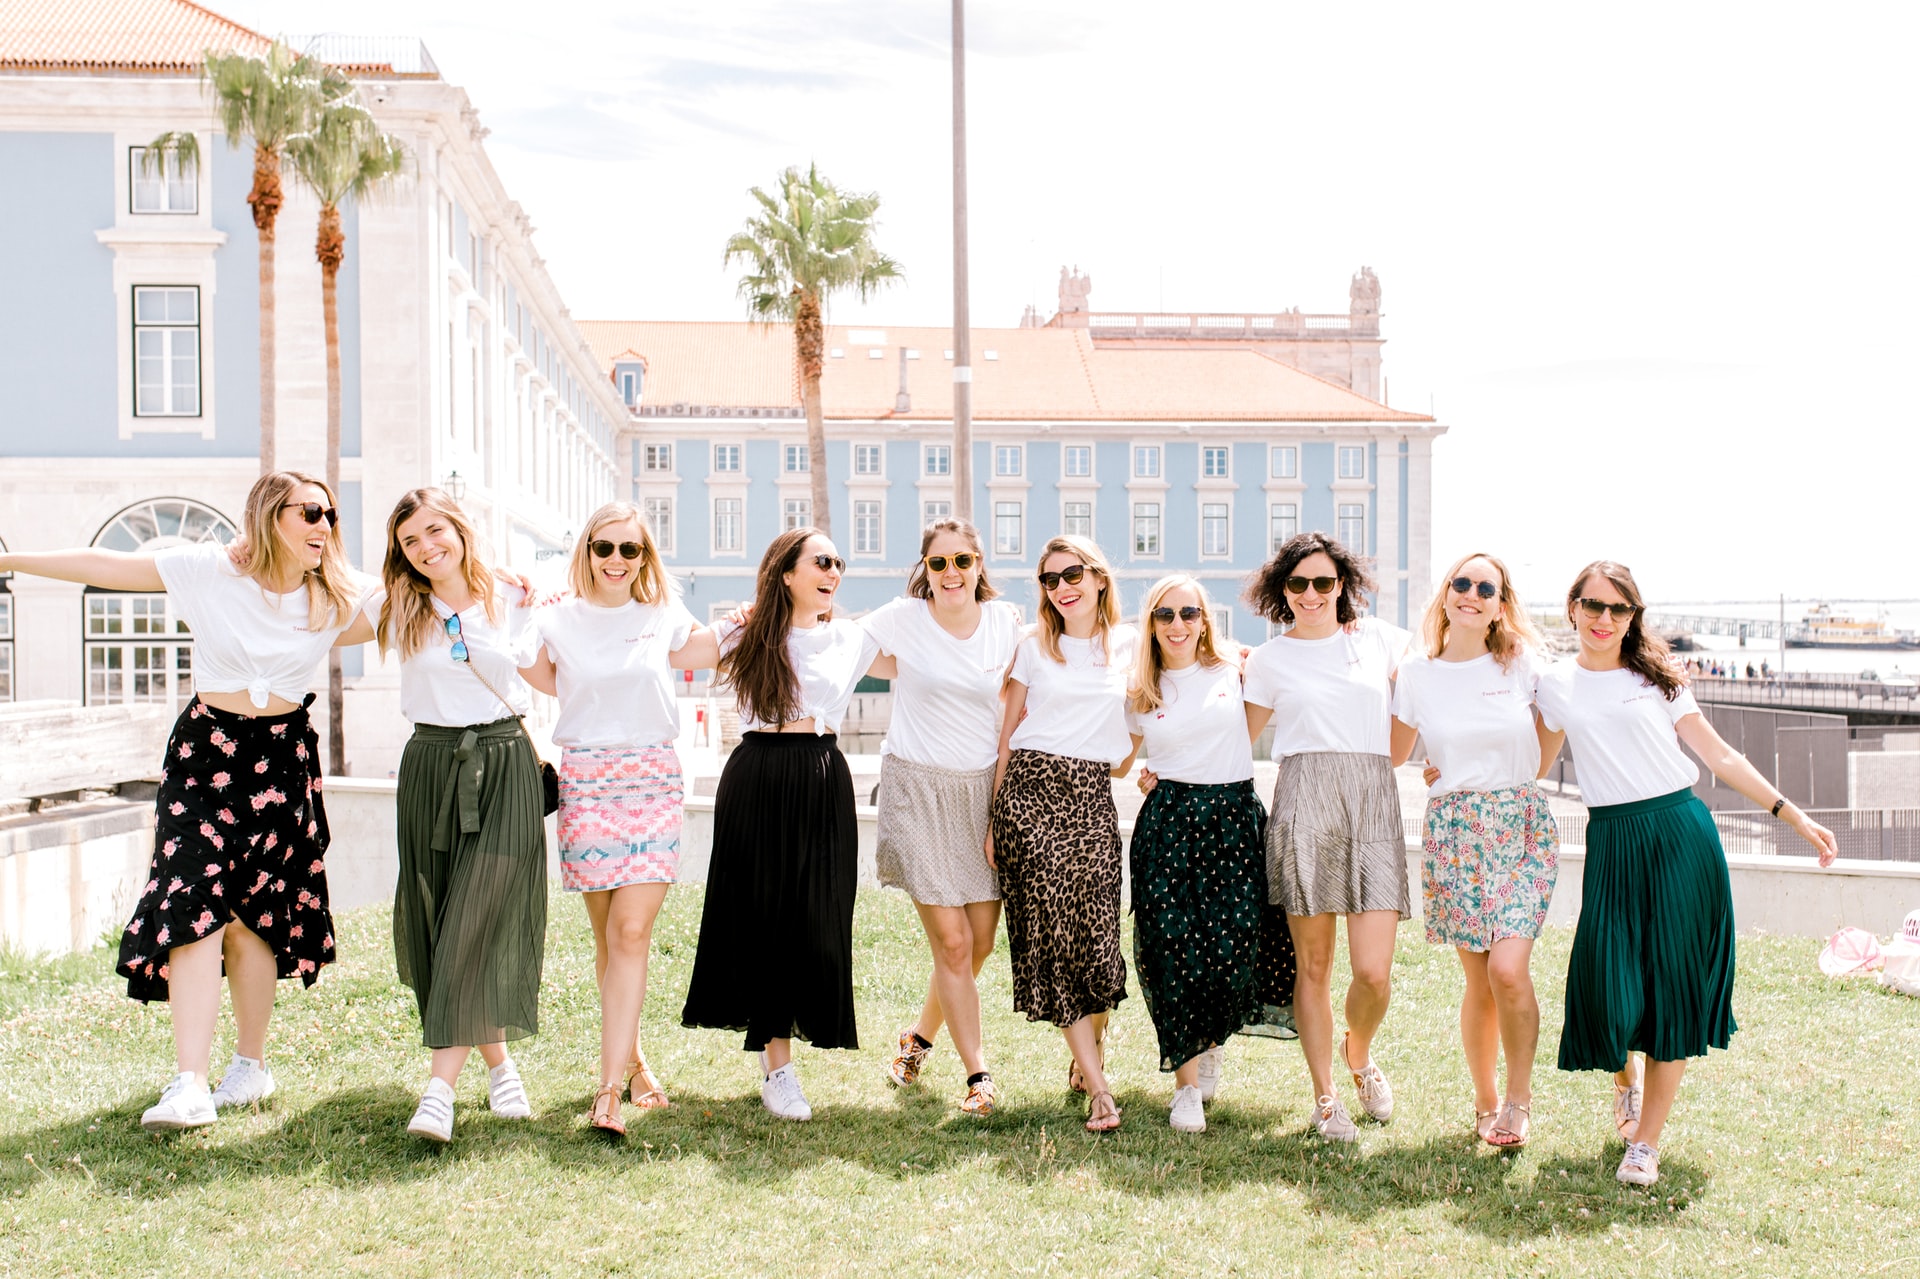
After starting the adventure with tailoring the question arises: what to choose for our first independent project? Pants, dresses or blouses are already definitely a higher league, so at the beginning it is worth deciding on another female hit – a skirt.
Recently, when it was so difficult to find other activities and attractions, and TV series on streaming platforms no longer entertain us, many people became interested in handicrafts and bet on discovering new talents in themselves. Thus, home sewing has also returned to favor.
In order not to jump headlong into the sun, at the beginning it is good to choose a part of clothing, which is not overly demanding technically, and will make us enthusiasm even more. Therefore, a comfortable and elegant skirt can be a hit. In this article, we present some timeless styles and tell you how to turn your tailor’s plan into reality.
One of the most coveted and incredibly girly cuts is the circle skirt. It looks great with almost any accessory, highlights the waist perfectly and is a phenomenal, comfortable choice for summer. Importantly, this type of cut is also one of the easiest forms we can get behind
We start by measuring our waist circumference, which will be used to calculate the radius of the circle for the cut. To avoid mathematical struggles, we can easily use tables found online. If you plan to sew a skirt with elastic, remember to add about 4 cm to your measurement, so that you can easily pull the garment over your hips. We can make our creation from a whole circle, half or another cutout – in all cases the process itself looks exactly the same.
Key stages:
An absolute must-have for every elegant woman. Thanks to its lean form it slenderizes the figure, adds spunk and sex appeal. Sewing a pencil skirt is also not a difficult task, but in the planning phase you need to think about the type of material used – if it will be stiff, it is worth taking care of the additional opening to facilitate movement
The first stage of implementation is cutting out elements on the basis of ready paper templates, which we can find in the professional press or on the Internet. The next step is preparing the belt and zipper for sewing
The former – just like before – should be equal to the circumference of the waist plus a margin. Once they are in place, all that remains is the final finishing touches, namely double-tucking the bottom of the skirt, stitching it with a straight stitch and then ironing all the overlaps.
Main photo: Photographe EVJF GREG/unsplash.com