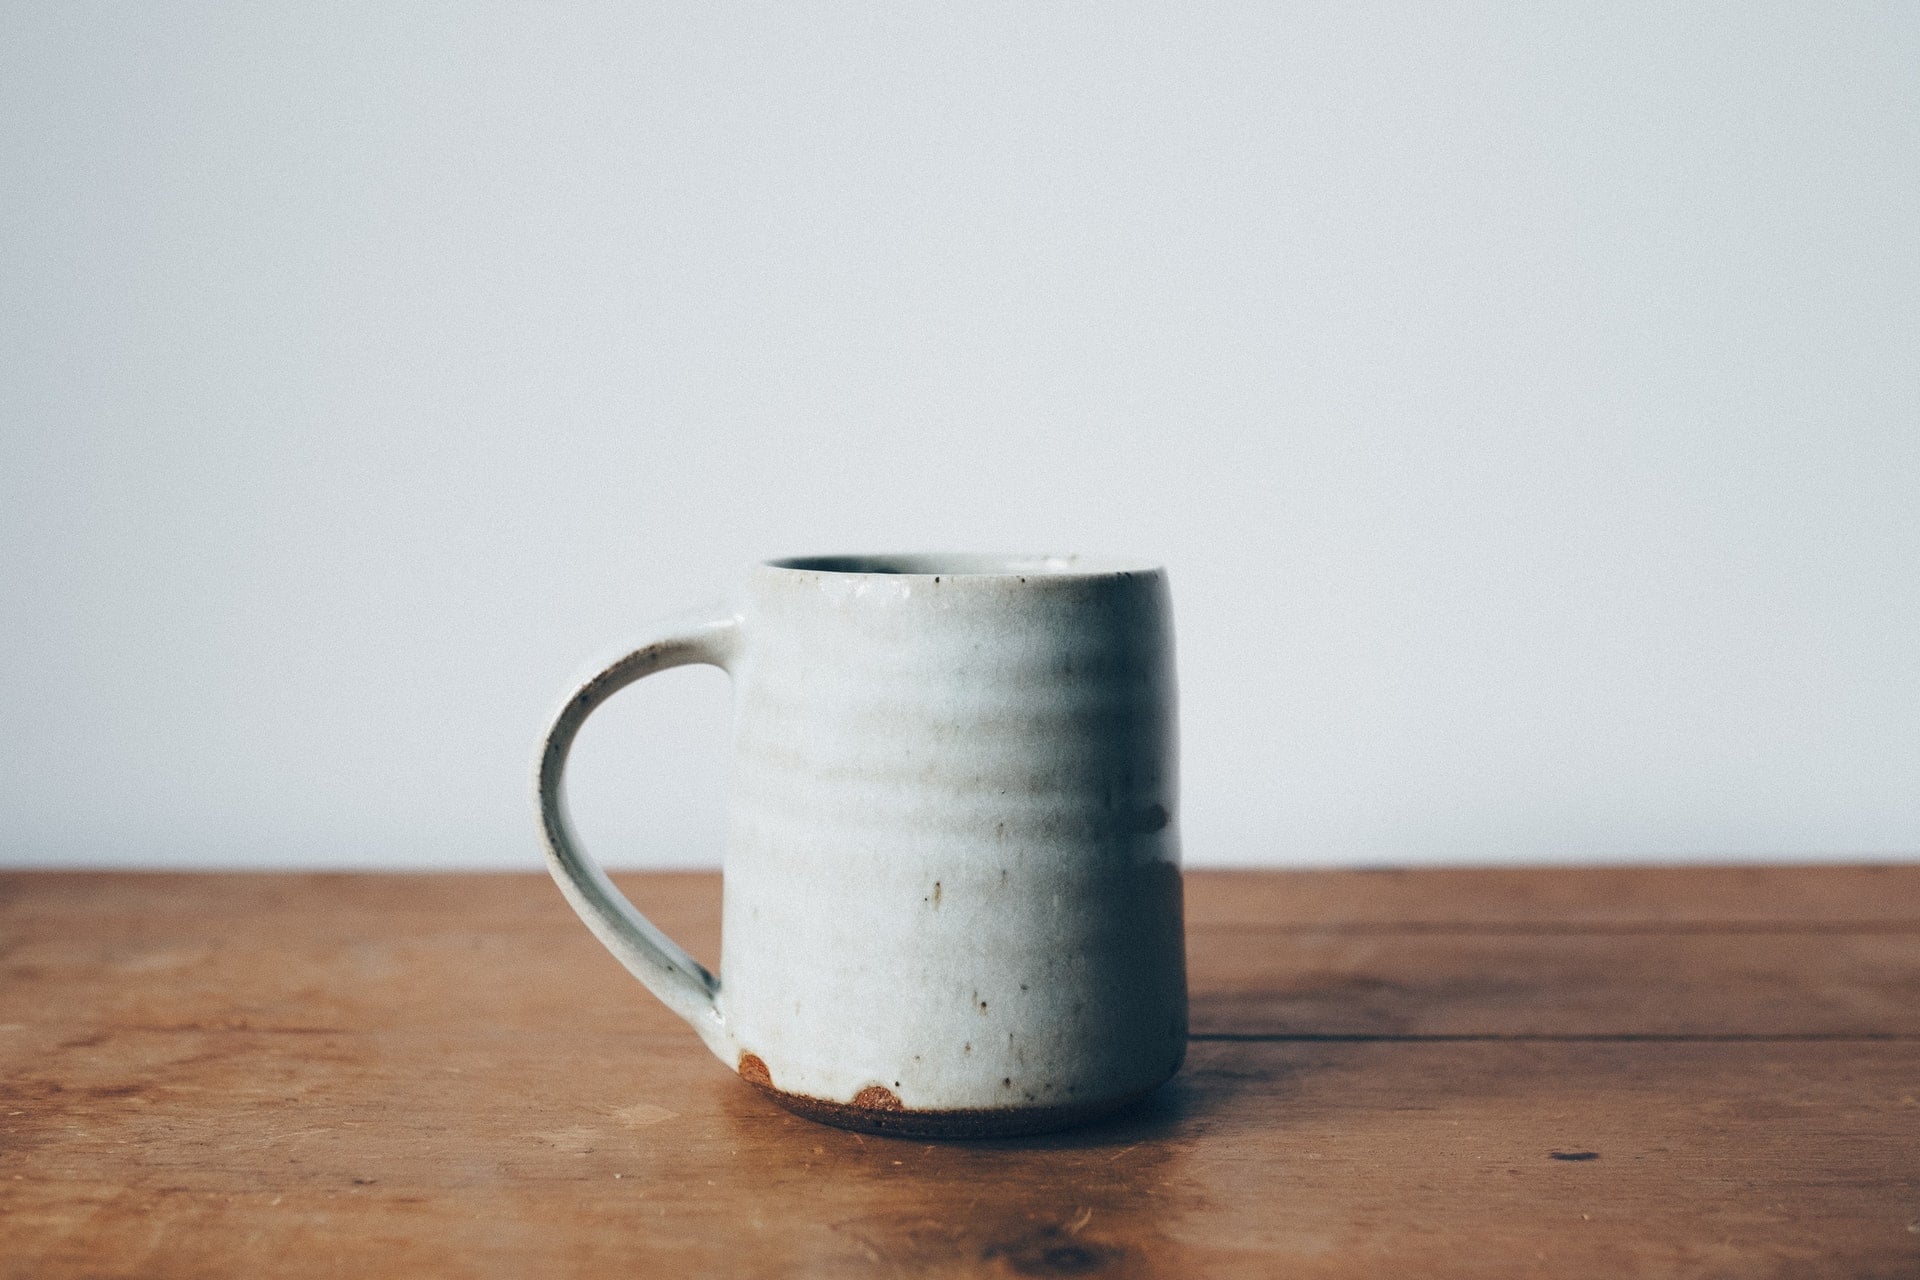
Ceramic vases, pots, plates, whistles and even musical instruments can all be made by yourself. To learn how to make ceramics, you just need to want to. To start with, try to make the simplest trinket out of clay, such as a mug. How to do it, you will learn in our article.
Ceramics is fired, natural clay, which is the main material. It must be oily, free of pebbles and other impurities, otherwise the craft will break during firing. The finished mass must also be stored under certain conditions to ensure the moisture content is at the right level.
Natural clay comes in several types, including:
Clay can also be low-fired and high-fired. The former is suitable for small decorative items, and the latter for utilitarian items.
The most convenient way is to buy ready-made pottery clay from a specialized store. In addition to the clay, you need glazes or acrylic paints to cover the surface of the cup and give it the desired color.
There are several ways to transform clay mass into a beautiful ceramic product:
Clay products gain durability only after firing in pottery kilns at temperatures of 900 to 1,300 degrees. This means that a home oven is not suitable for this task.
At the first step, it is important to rinse and knead the clay lump well so that no air remains in it. Air bubbles can damage the product in the kiln during firing. The beauty of working with clay is that if you don’t get the right shape the first time, you can soak the mass and try again.
When working, it is important to make sure that the walls of the mug are evenly thick – whether you form the vessel on the potter’s wheel or stick it by hand. Once you have created the right shape, it is necessary to smooth the surface so that the edge is not sharp after firing. If, according to the plan, your mug has an ear, it is time to make it and firmly attach it to the base with special glue.
The drying stage also has its own nuances. The mug should dry evenly, without deformation or cracking. To do this, it is better to keep the product under polyethylene for several days, gradually exposing it.
The dried dishes are sent for firing in a special kiln. At this stage, it is important to set the right temperature and firing time so that the dishes do not crack.
When properly selected and applied, glaze can achieve remarkable results. However, remember that in ceramics also imperfection looks beautiful and original. After glazing, the mug must go into the kiln again. Pay attention to ensure that the dishes do not come into contact with each other during firing.
Clay and glaze react differently to heat treatment, so each time the end result can be different – and therein lies all the beauty of ceramics.
main photo: unsplash.com/Annie Spratt