Choosing the right gift is half the battle. The packaging also matters, and the real crowning touch of the gift is a beautiful bow.
Tying bows is, despite appearances, not an easy art. However, it is worth mastering, because even a simple, but well tied bow can make any gift look unique and elegant. All you need is a colorful ribbon, a little patience and the right technique. In our article you will learn how and from what to make the perfect bow.
Choosing the type of ribbon is important. After all, each material has certain properties and presents itself differently. Among the most popular can be listed:
To make a bow, in most cases you just need a ribbon of the right length and width of your choice and a well-sharpened pair of scissors. For some materials you may also need a lighter to seal the ends. A ruler or tape measure as well as some glue, double sided tape or a needle and thread will make creating the bow much easier.
The first step is to measure the length and height of the box. The values should be added, and their sum multiplied by five. The result will indicate the appropriate length of the ribbon. Find the center of the ribbon and place it in the middle of the box. Press lightly with your fingers. Then wrap the ribbon around the box horizontally on both sides, turn the box over and cross the ends. Now wrap the ribbons vertically, back to front and center. Cross the ends again, but this time make a knot and tie a simple bow. Cut off the excess ribbon. For a better effect, you can cut a “V” shape in the ends.
This creative variant consists of several ribbons arranged in a bow. Prepare some ribbons of different lengths – the more, the more impressive the bow will look. Create hoops by gluing the ends of each ribbon together. These will be the segments of your bow – glue them together, start with the largest one and create something like a pyramid. When you’re done, shape the loops and tie a longer ribbon through the center of the bow
Tie the organza around the hoop or fingers 10-15 times. Then mark the center and carefully cut small triangles on both sides. Secure the center by tightening it with string or thin wire. Remove the tied ribbon from the hoop or fingers. Turn the ribbon so the knot is at the bottom and alternate gently pulling left and right one loop at a time to form a circular shape. Remember to rotate the loops accordingly to make the bow fluffier.
Before you start your first bow, remember the basics. First of all, on the binding, the front side of the ribbon should be visible and the back side should be hidden. To determine the correct length of ribbon to wrap the box, you need to make 2 turns of the ribbon around it and add at least 60 cm per bow. However, it is better to tie the bow from a longer ribbon – the ends can always be trimmed accordingly.
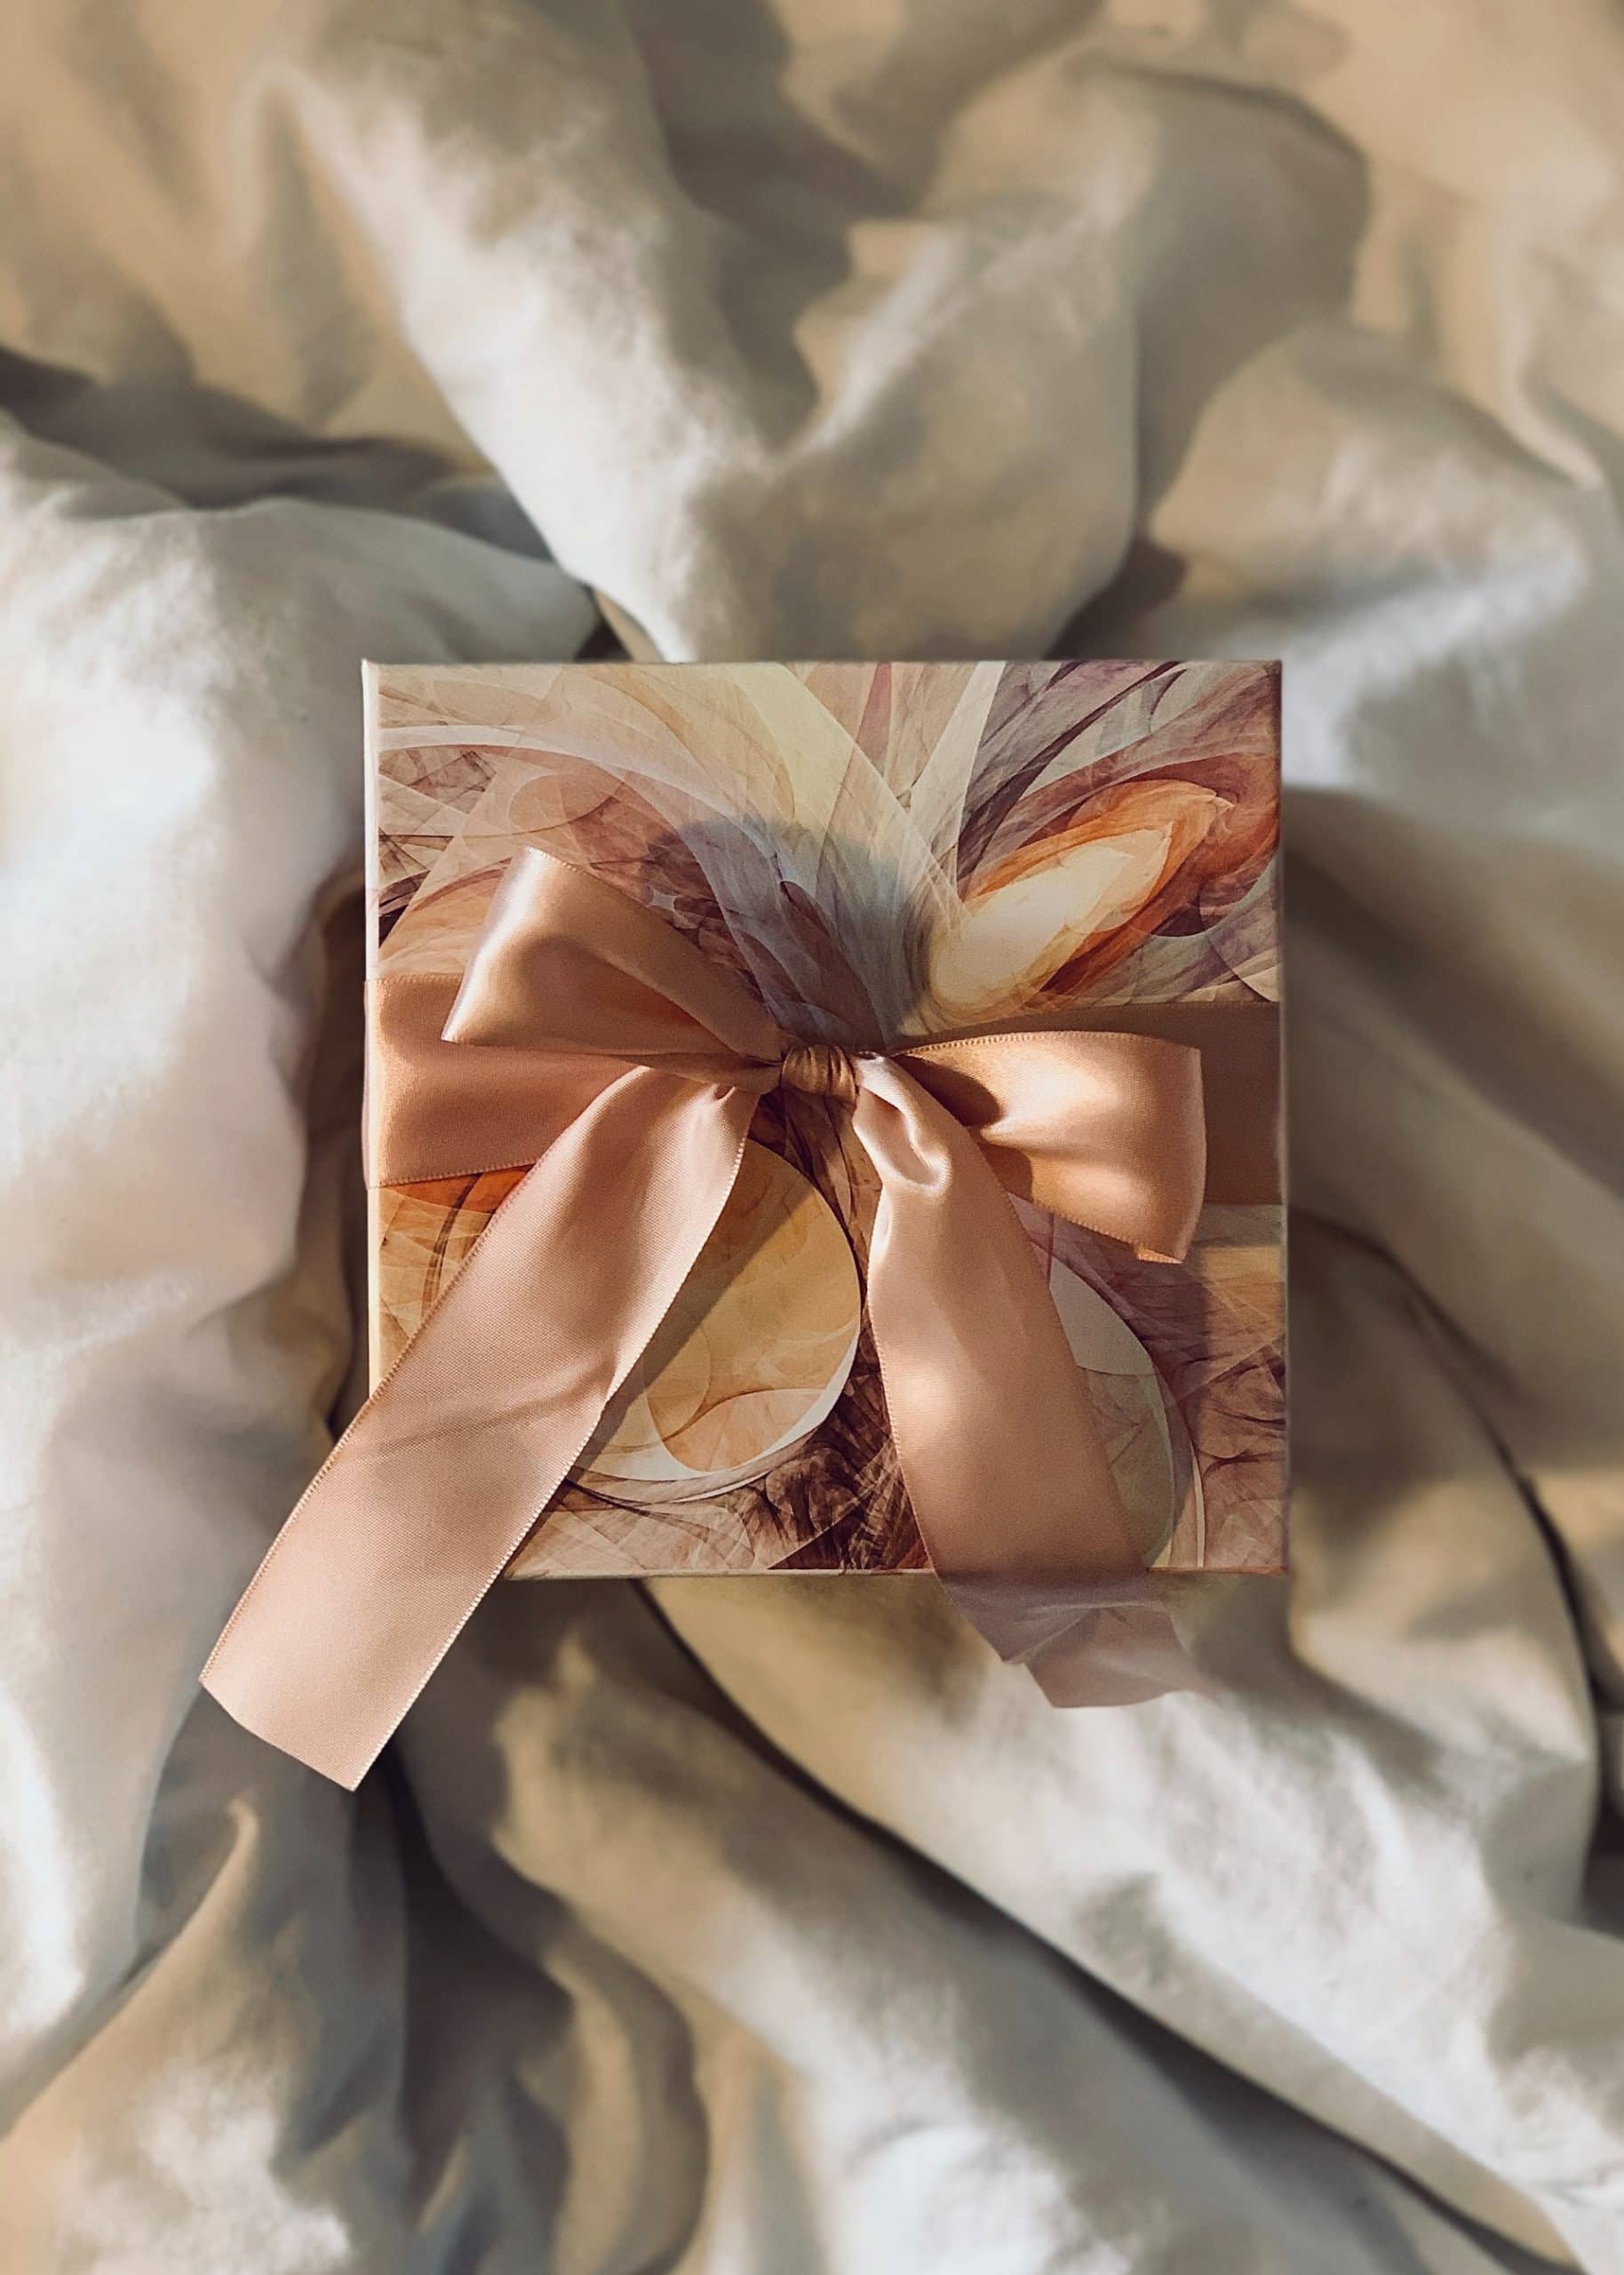
Main photo: Mia Golic/unsplash.com