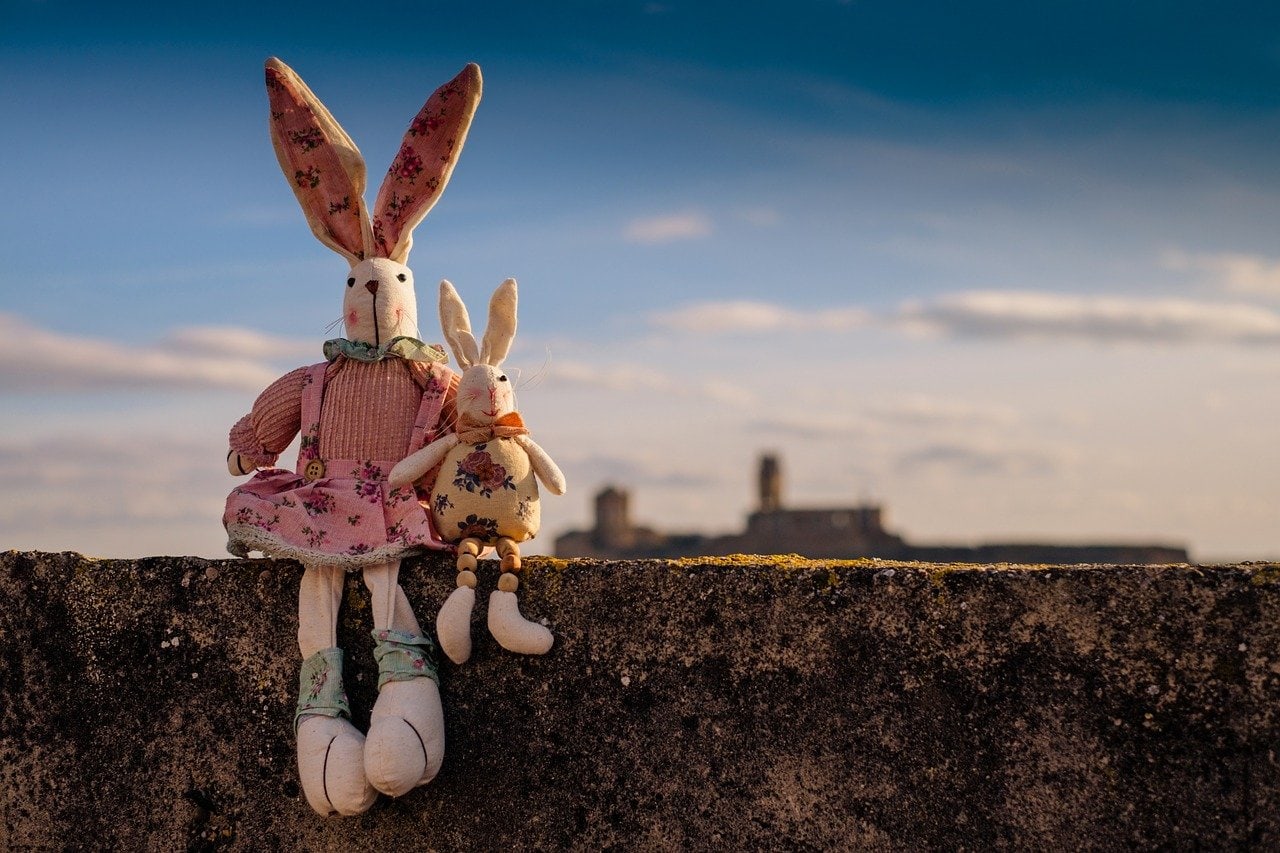
It is impossible to imagine childhood without mascots. Soft and adorable plushies made of safe materials often accompany toddlers from the first days of life. Huge popularity is enjoyed by handmade mascots. We suggest how to sew them yourself.
For some time now, handmade toys have been an absolute hit among DIY projects. Despite appearances, sewing a mascot on your own is not at all complicated, nor does it require extraordinary sewing skills. All it takes is a few inexpensive tools and materials, as well as a little willingness and free time to create a unique cuddly toy for our child.
The priority in choosing a fabric for sewing a child’s toy should be safety, so it is recommended to choose hypoallergenic and natural materials without harmful substances. It is also worth paying attention to the durability of the fabric, since mascots often accompany children during play and bear traces of use in the form of dirt and stains, and therefore require regular cleaning and washing.
A popular fabric used for sewing toys is light cotton moleskin. It is easily maintained, so we can be sure that the colors will not fade quickly, and the prints remain clear. If we want a stretchy, yet durable and resistant to stretching fabric, we can reach for a pleasant to the touch jersey, which will also work well for sewing clothes.
Such fabrics as interlock and sweatshirt are also nice for the baby’s skin. They will work well as material for mascots, as they do not cause allergies and do not stretch, and still retain their shape after washing in the washing machine.
If you want a particularly strong and durable sewing material, you can choose densely woven gabardine or panama with a distinct texture.
To sew the mascot ourselves, we need the following tools:
If we have gathered the necessary materials, we can get down to sewing. Here is a practical instruction that will make this task easier.
At first, we prepare the die-cut. On a piece of paper or cardboard we draw the shape of the mascot and cut it out. We fold the fabric from which we want to sew a cuddly toy in half. Then we apply the cut-out template to the fabric and trace it. To the obtained shape we add about 1 cm margin for seams and only cut out.
On one of the two pieces of material we draw eyes and a nose. In these places we can sew small buttons or cut out pieces of felt. Then we put the two pieces of fabric to each other so that the right side is inside. We pin the whole thing together with pins and sew the mascot along the die-cut line. We leave an opening of a few centimeters for inserting the filling.
Turn the stitched cuddly to the right side and insert the filling. We can help ourselves with a wooden stick. At the end we stitch the opening. The hug is ready!
main photo: pixabay.com/josealbafotos