Among the various modern wall decorating materials, natural ones such as wood particularly stand out. They are ecological, aesthetic and very versatile.
Wood is a relatively inexpensive choice that, with the right approach, will give a unique character to any wall. It works well in modern and classic interiors, and the variety of wood materials allows for interesting effects. It’s no wonder that one of the interior hits of recent years are lamellar panels.
It is a simple but very elegant and stylish decorative element for walls, often used in private and office interiors as well as hotels and restaurants. Simply put, it is a set of slats (vertical or horizontal) placed at intervals on a colored furniture panel.
Laminate panels do not require special skills in making and installation. You can prepare panels of virtually any size yourself, and then install them.
You need:
– laminated furniture panels, which will form the base;
– slats or squared timber from which you will make the lamellas;
– Two clamps to hold the slats together;
– Wood screws;
– mounting glue;
– a screwdriver and drill;
– a tape measure and spirit level.
Measure the wall on which you will install the panels. You need to buy enough of them to fit the whole surface, unless you plan to do the decoration only on a part of it. Once you have determined the dimensions of one panel, calculate how many individual mouldings you will need – determine their thickness and spacing.
You can buy strips ready-made, ask the store to make a variant in non-standard dimensions or cut them yourself. The last option requires practice, adequate space and tools for work, so it is better to use ready-made products.
This stage of work you need to perform on a table. Lay the furniture panel on it so that its upper edge protrudes, and then insert under it the two extreme slats. The first align to the edge and stabilize with a clamp. Now you can drill a hole in the panel and the slat, and then put a screw in it. You will repeat this operation on all the slats, on the lower and upper edge of the panel, as well as in the middle.
When installing the slats, it is especially important to make sure that they are evenly spaced from each other. Two wooden blocks (called spacers) of a specific width can help you with this task. When tightening subsequent slats, the blocks (one at the top, the other at the bottom) will determine the appropriate distance. You are also guaranteed that it will be the same every time.
Once you’ve screwed down all the slats at the top and bottom, you still need to do it in the middle. This is especially important if you have long panels – wood strips can warp and screws in the right places help to straighten them out.
Use a tape measure to measure where you need to drill your screw holes. Do this carefully or you may damage the panel.
In case of extremely crooked slats, screws may also be needed in other places, not only in the middle.
You can place the finished panel on the target wall. It is best to use strong mounting glue for this. It is the least invasive way for the wall. However, if the panel is exceptionally large and massive, there is a risk that it will peel off the wall together with plaster and paint.
To prevent this, you can use mounting screws. Remember to place them between the lamellas and finally cover them with caps of the appropriate color.
If you have bought slats in a neutral color, you can impregnate them and thus give them the desired shade. It is also worth varnishing the finished slats to protect them from damage. Such treatments are particularly important when the panel is to be placed on an outside wall, terrace or balcony, where it will be exposed to UV radiation, high and low temperatures and moisture.
Prepared by you panels can be larger or smaller, and the laths on them can be placed in any orientation, not just vertical. This is a relatively inexpensive way to modernize your interior and break up boredom, and wood is a material that is always in fashion.
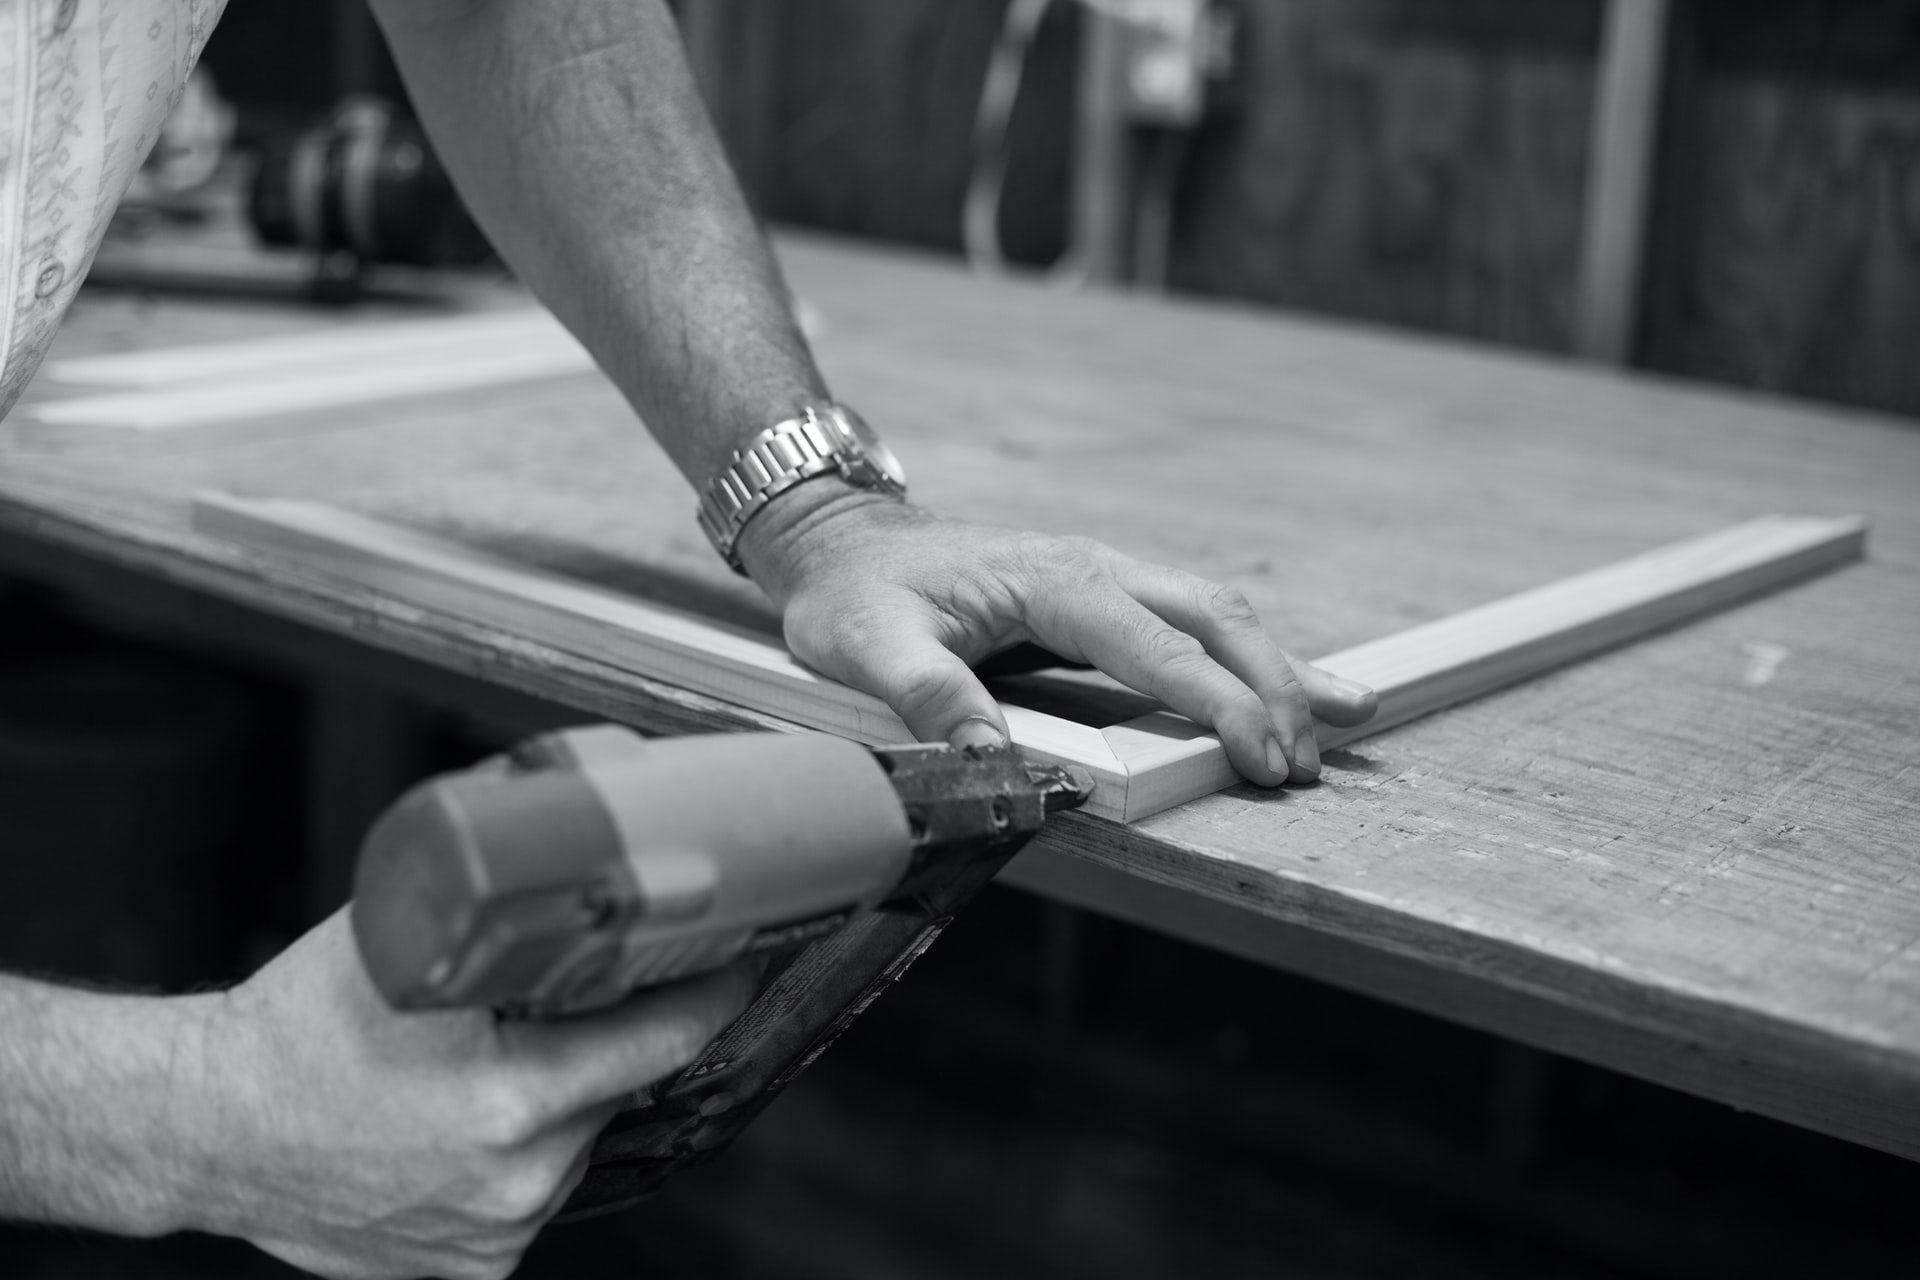
Main Photo: Photo- to-Canvas.com/unsplash.com