Coconut is not only delicious in taste, but also looks aesthetically pleasing. We often display it in the kitchen or living room before eating it. But what to do with the remaining peel? How to use it in home decor?
The husk left after a coconut can decorate the interior of our home. It is a completely natural and ecological material. A few tools and accessories that we usually have at home will be enough to give it a second life. How can we creatively use the remains of a coconut?
Depending on what tools we have at our disposal, we can make a more or less complicated lantern. What we will need to make it are:
Additionally, they may be useful:
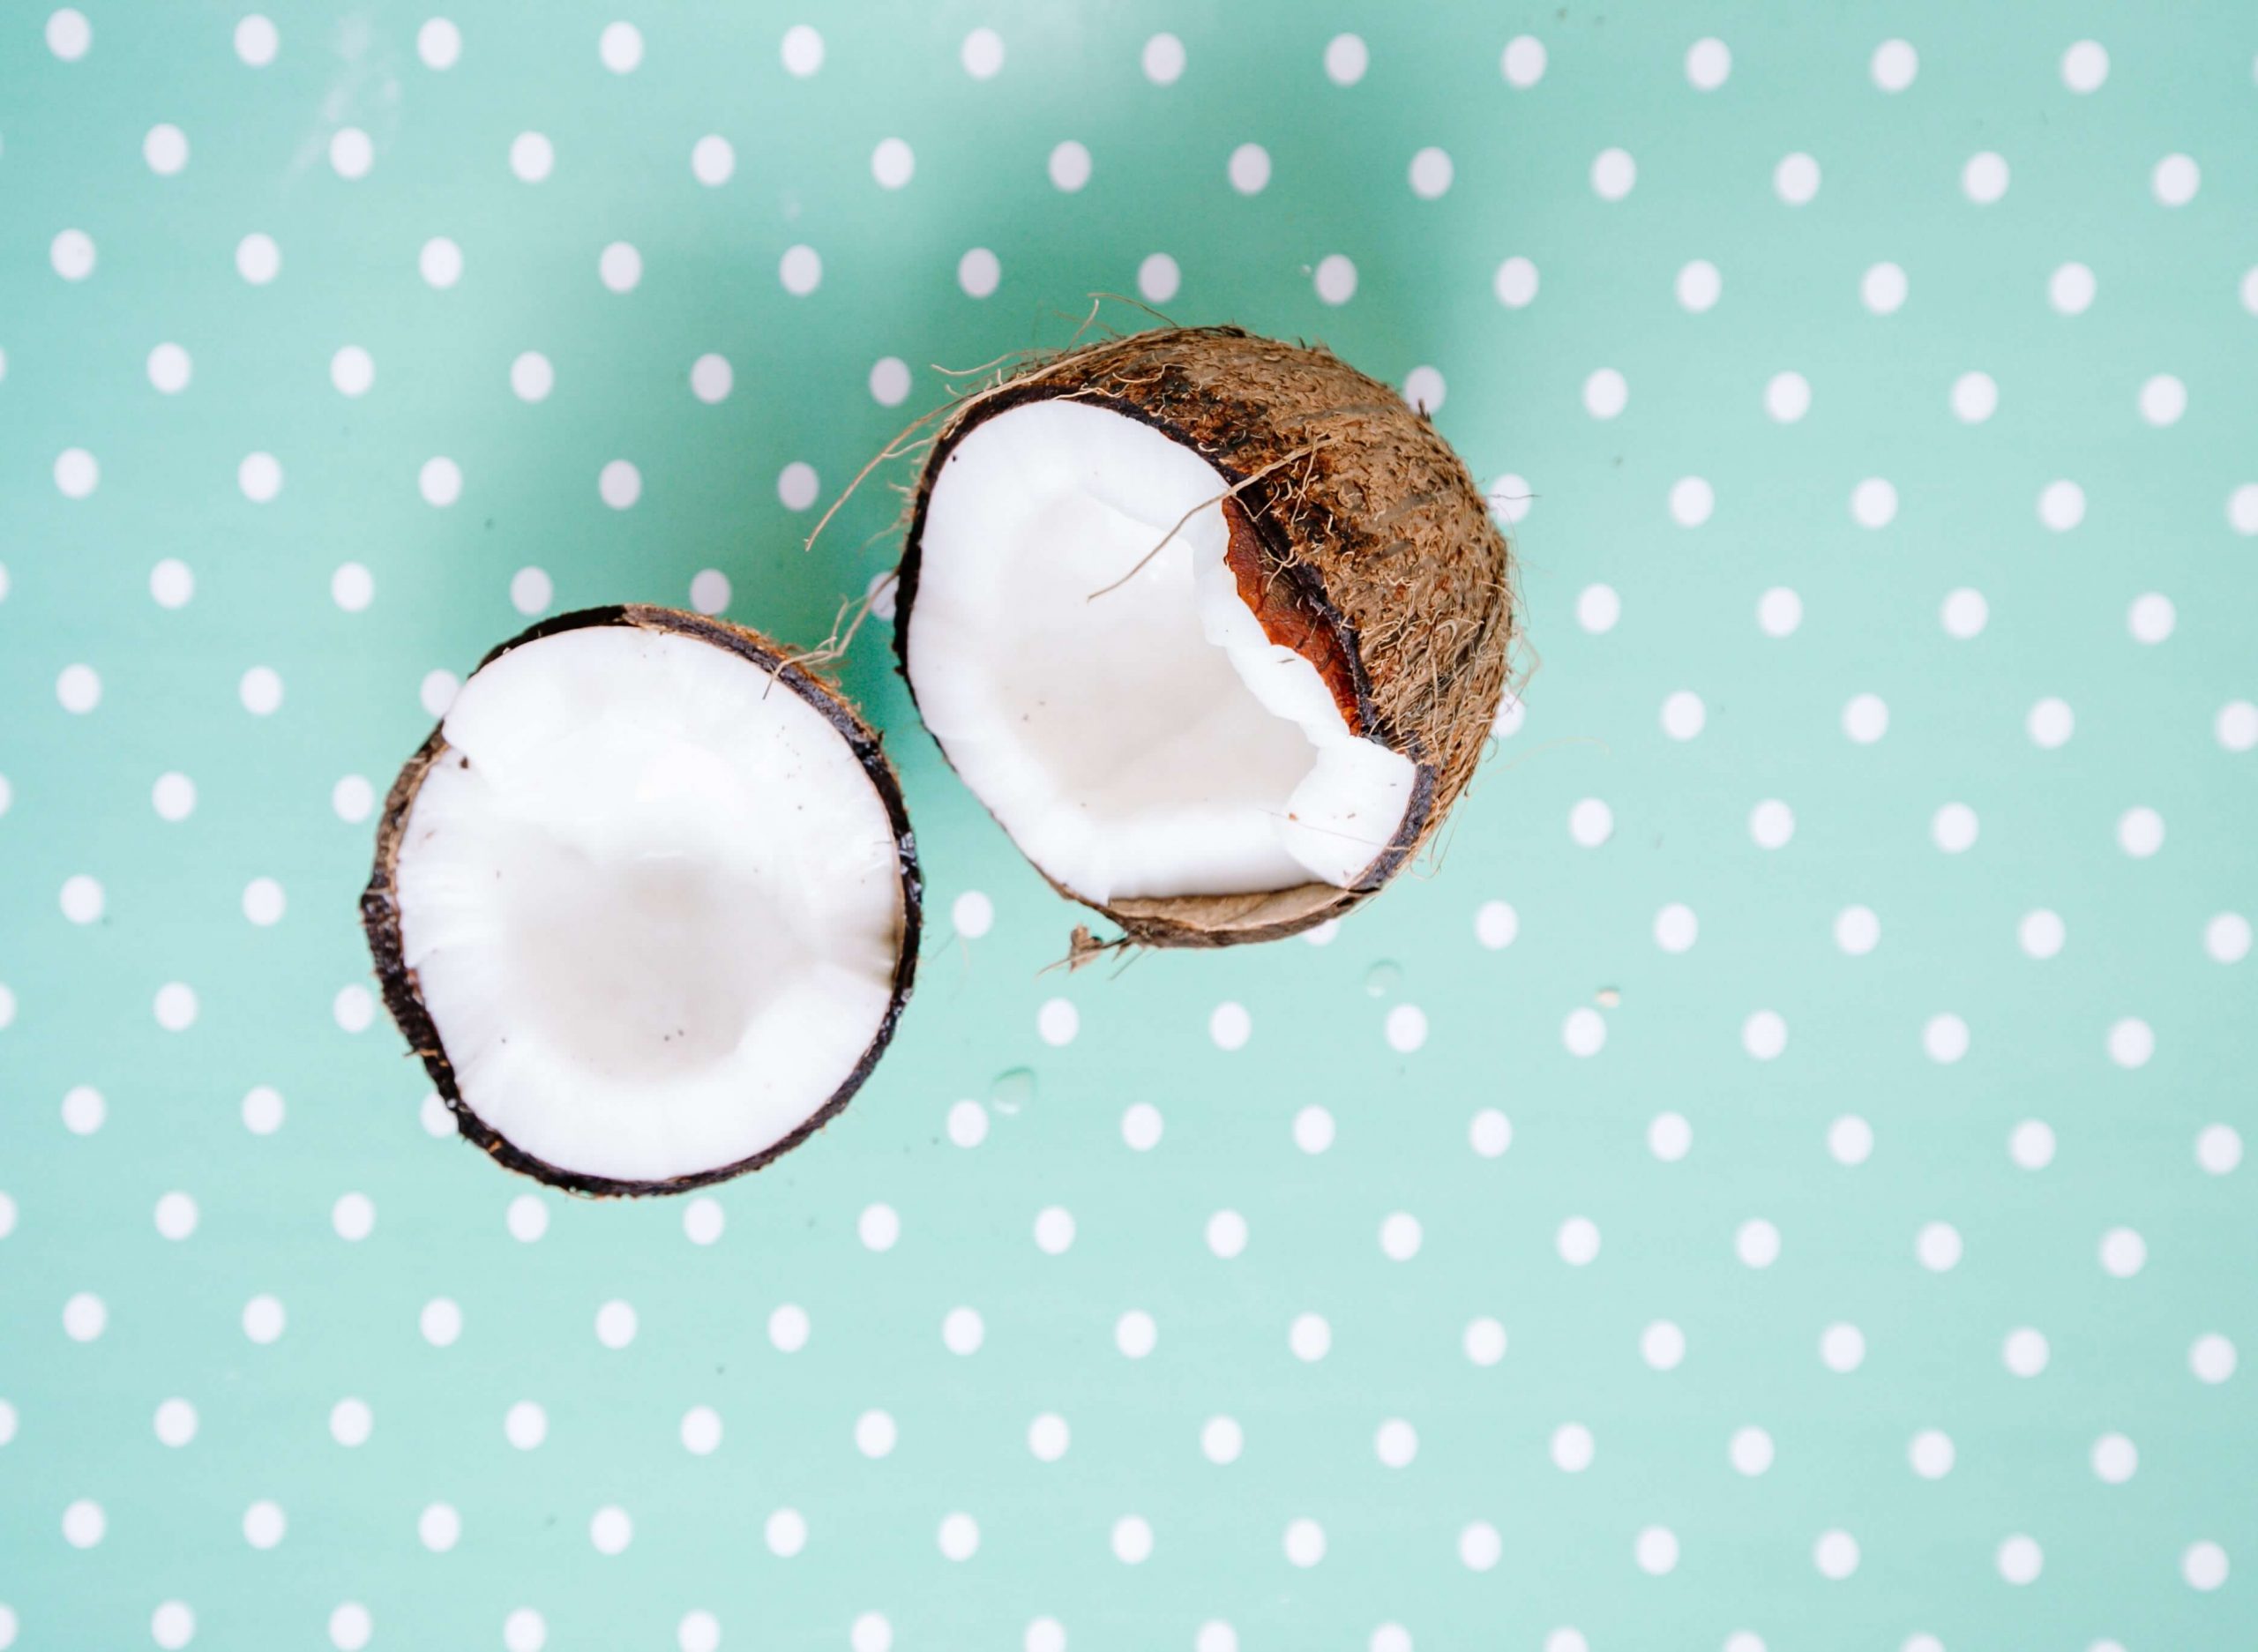
Work must begin by opening the coconut and selecting its contents. A sharp saw, a hole saw and a vice will come in handy for this purpose. It’s a good idea to stabilize the coconut in the vice and only then start fishing through it. If that’s not possible, carefully cut a hole in the top of the coconut with the hole saw and then cut off the top of the coconut while holding it steady with one hand. Depending on how we want our lantern to look, we cut it in half or in 1/4, 1/3 of its height. The smaller section will serve us as a base. After successfully opening it, we select the milk and pulp from inside the shell.
Now it’s time for decorating. At the workshop we take a larger part of the coconut shell. Depending on how bright you want to make the lantern, you drill more or less holes. For example, you can use a large drill bit to make holes on the edge, around the coconut, at intervals of about 1 cm. Then, use a medium sized drill bit to make holes underneath, so that they are below the places without holes made earlier. This way we will have a simple interlacing and a lantern that will shine subtly. You can drill holes in geometric shapes or randomly with different sized drills.
A method for creating more demanding patterns is to use a milling machine. We can help ourselves with a pre-printed template or draw a sketch directly on the coconut. To make your work easier, you can first make auxiliary holes with a drill and then precisely cut out the pattern with the router. Coconut husk is very hard and working with it requires practice. At the beginning it is better to use simple patterns and gradually increase the level of difficulty.
When the lantern is ready, mount it to the base. The lid that you cut off the coconut at the beginning will play this role. Thanks to the hole saw, the very tip of the shell can be discarded and the remaining ring can be placed on a wider base on the tabletop. Lubricate the edges of the narrower edge with wood glue or hot glue and glue our lantern on. When the glue binds and the whole thing dries, the lantern will be ready. You can decorate it with string or hot glue additional decorations. At the very end put a candle into the lantern.
If you want to make a hanging lantern, just use its larger part and decorate with holes or cut patterns with a milling machine, as in the previous case. Additionally, you need to drill 2 or 4 holes at a height of about 1.5 cm from the edge of the coconut. We weave a string or chain through the holes and hang it on a hook under the ceiling or on a garden branch. For safety reasons, the source of light in such a lantern can be battery-operated lights. Coconut can also be used to make cotton balls. Only instead of balls of yarn, you can use small coconut shells.
You can also use coconut halves in other ways. They look very effective as flower pots in macramé flowerbeds or standing pot holders. The shells are perfect for plates, bowls and cups. We’re sure to surprise our guests by serving soup or cocoa in it.
You can also read about coconut decorations in our interview with Dorota (Coffee in the Woods)