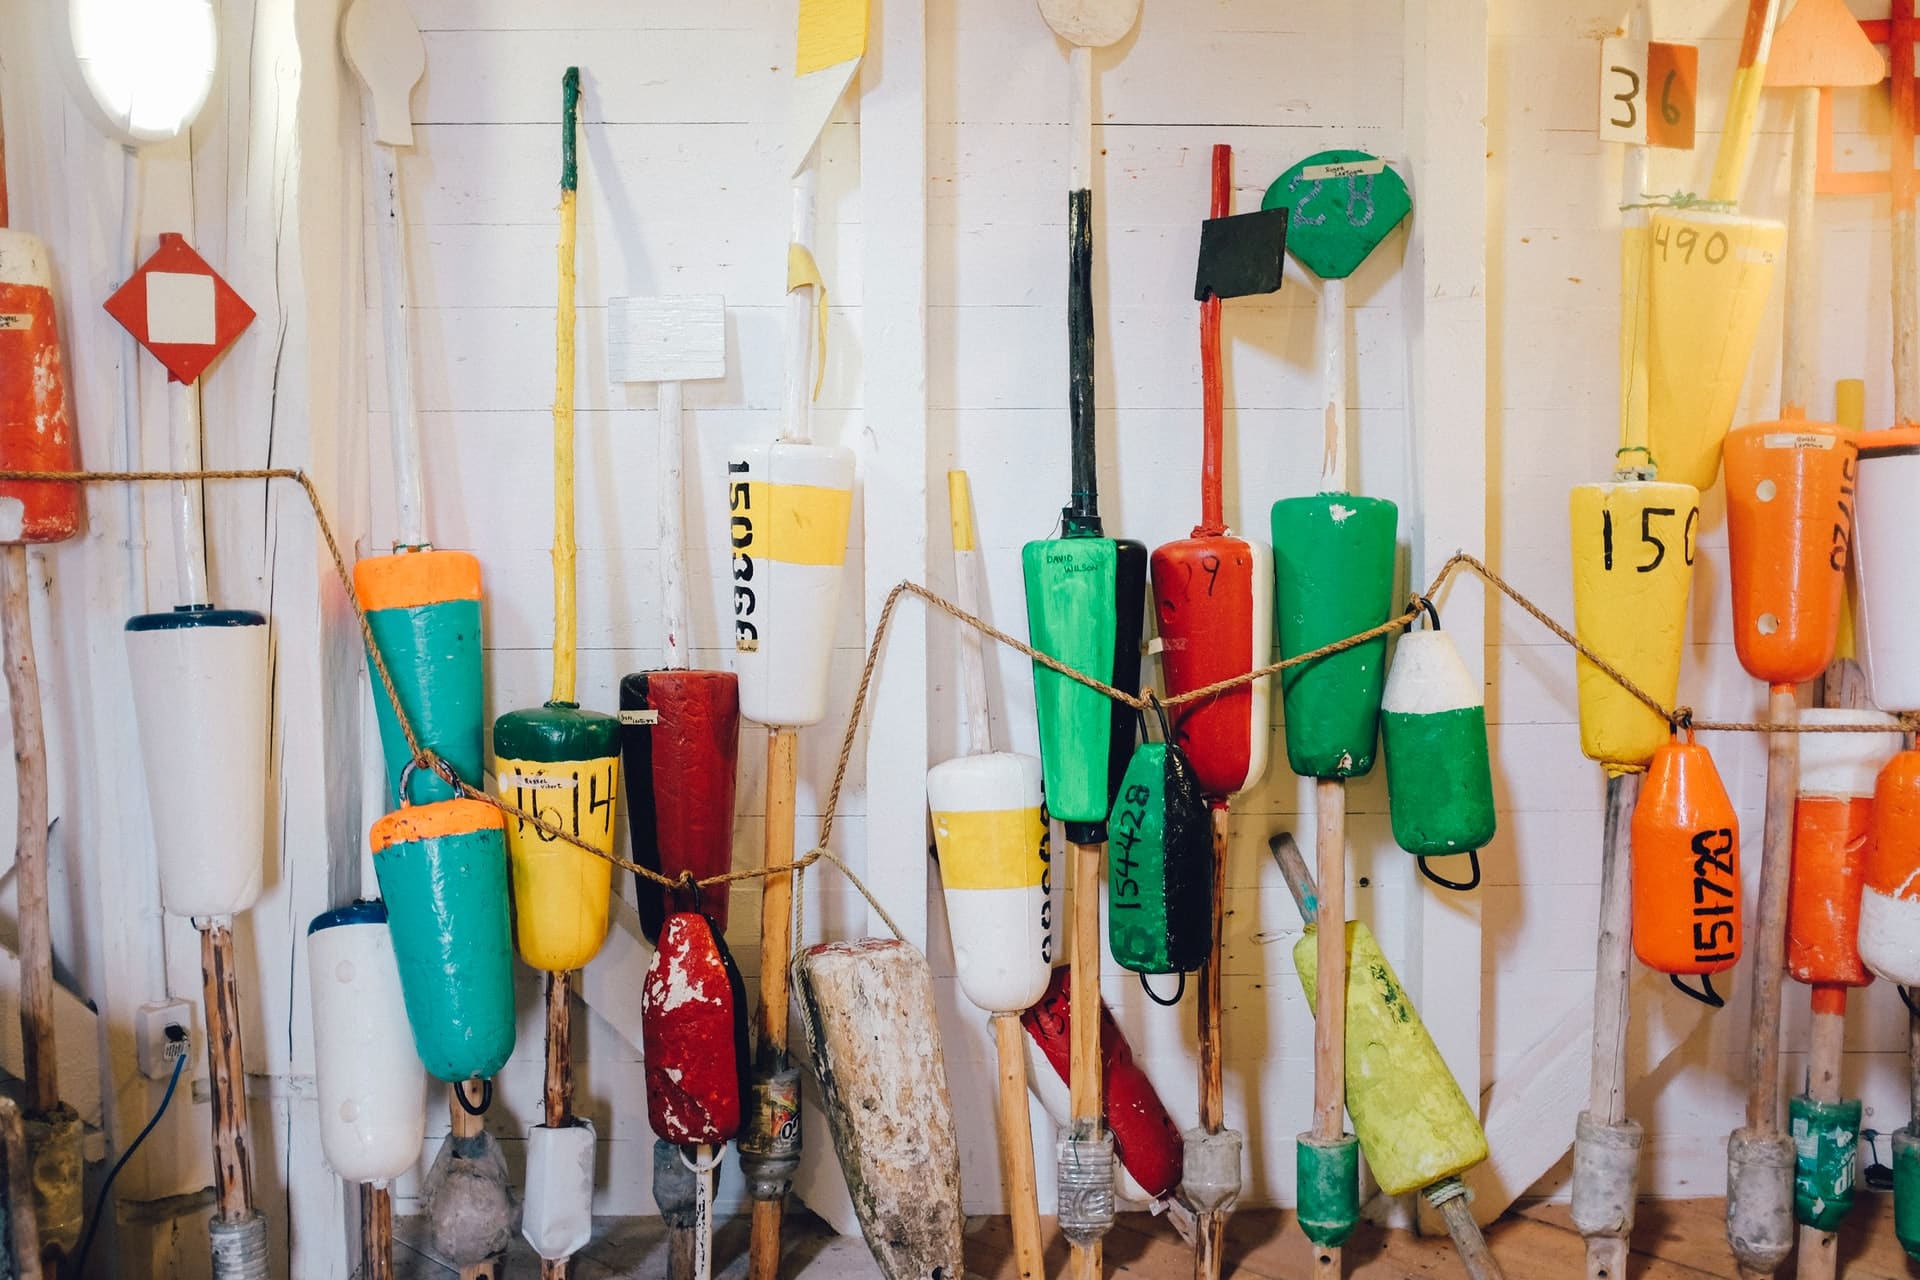
A standard float consists of an antenna, an eyelet, a body and a keel. All these elements are necessary for the float to fulfill its purpose, stay on the water and be properly balanced.
Modern models made of wood are characterized by good sensitivity, proper balance and long range. Most often they come in such shapes as pear, olive and spindle, have different colors – from bright and shiny to natural and dark – and sizes, but the maximum length of the float should not exceed 14 cm. Many anglers like to prepare their floats themselves, so in this article we will tell you how to make a simple variant from wood at home.
To make a self-made wooden float you will need:
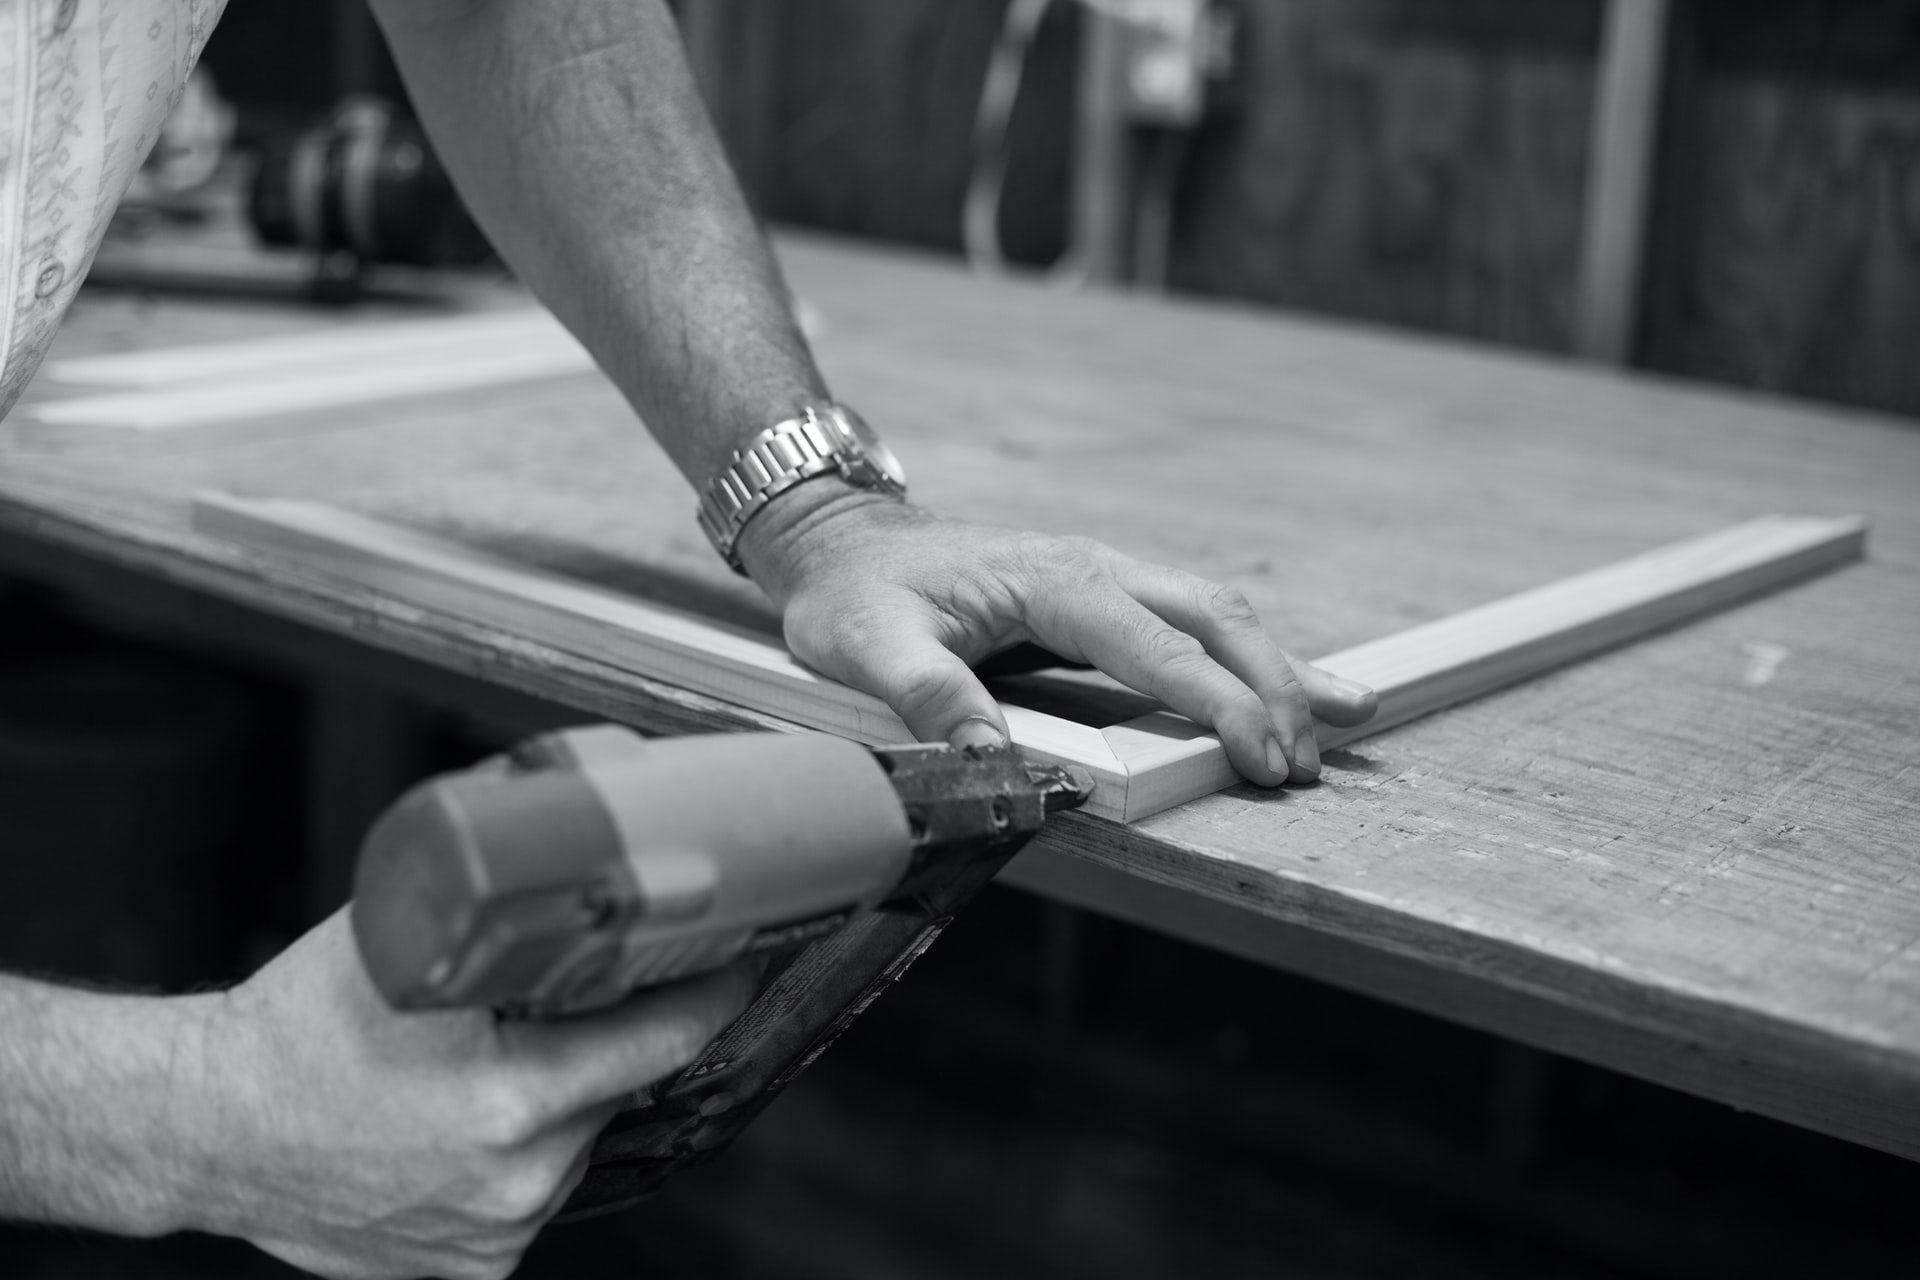
For woodworking you need a small saw, a sanding disc and sandpaper. In addition, get a sharp knife, a drill with 0.3 to 1 mm diameter bits, and wire cutters.
The antenna can be made from a plastic rod 0.5 mm thick and 5 to 7 cm long. It should be placed in the body of the float to a depth of 1 cm. The antenna can also be made of bamboo, which has excellent buoyancy and does not absorb moisture. Another option is skewer sticks – just cut them to the right length.
Start with the body. Cut off a piece of balsa, trim its corners and sand the sharp edges with sandpaper. Then, using a sanding disc and a drill, give the wood the desired shape. Finally, smooth the surface with fine sandpaper.
Using the drill, make two holes in the body at the top and bottom, exactly on the vertical axis – one for the antenna and one for the keel. Remember that the keel must enter the body one-third of the way through. To make it easier, place the float in a vise. After drilling holes, pour glue into them and mount the antenna and keel respectively. Leave the assembly in place for about 30 minutes.
Twist a small loop out of thin 0.5mm diameter print – this is the so-called eyelet, through which the line will pass. Make a small hole in the body with the thinnest drill, dip the end of the loop in glue and mount it in the hole. Remember that the eyelet should be close to the antenna, no further than 2-3 mm.
Take nitro lac and dilute it with acetone to make a less viscous liquid. Thoroughly coat the body of the float with the resulting liquid and let it dry completely in the sun. Then remove any minor impurities and finish with sandpaper. Prime again using marine varnish.
Now it is time to paint the float. It is best to use a combination of brown and red or yellow and black, but you can also take inspiration from the store versions. Finally, paint the float with a clear, waterproof varnish – 3 or 4 coats.
Finally, you need to balance the float by trimming the keel. Cut off small pieces and check after each cut that the float balances freely on the pencil.
Main photo: Tristan Gevaux/unsplash.com